 VVavy
VVavy
How To Blend An Audio Visual With Live Capture Effects In VVavy
You can now keep an audio-reactive visual as the base of your VVavy scene and bring a live camera, captured screen, uploaded video, or image into an effect layer above it. The key is inside each selected effect's Settings: choose Raw live capture as the Source, then use a non-Normal Blend such as Add, Multiply, or Difference to let the live picture and the audio visual share the stage.
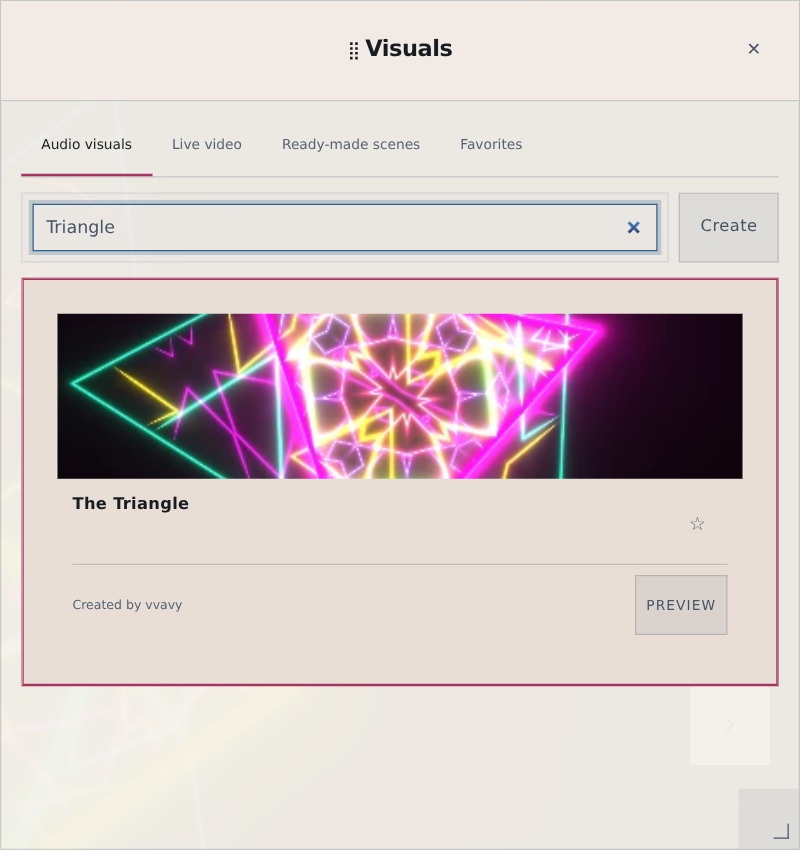
Start with the audio visual you want to keep
Choose a built-in visual first and let it become the foundation of the scene. It continues reacting to the music while the live layer is added above it, so you do not need to replace the visual just to introduce a performer, camera angle, screen, video, or still image.
Connect the live picture separately through Connect audio / video. Webcam Live Feed works for a camera, Screen / Window Only works for display capture, and Upload Video / Image works for prepared media. Keeping the audio and picture choices independent is what makes this mixed-source setup possible.
Prepare the two sources:
- Choose a visual for the audio-reactive base.
- Connect the track, microphone, tab, or other audio source you want to analyze.
- Connect a webcam, screen or window, video, or image for the live picture.
Add a Live Effect above the base visual
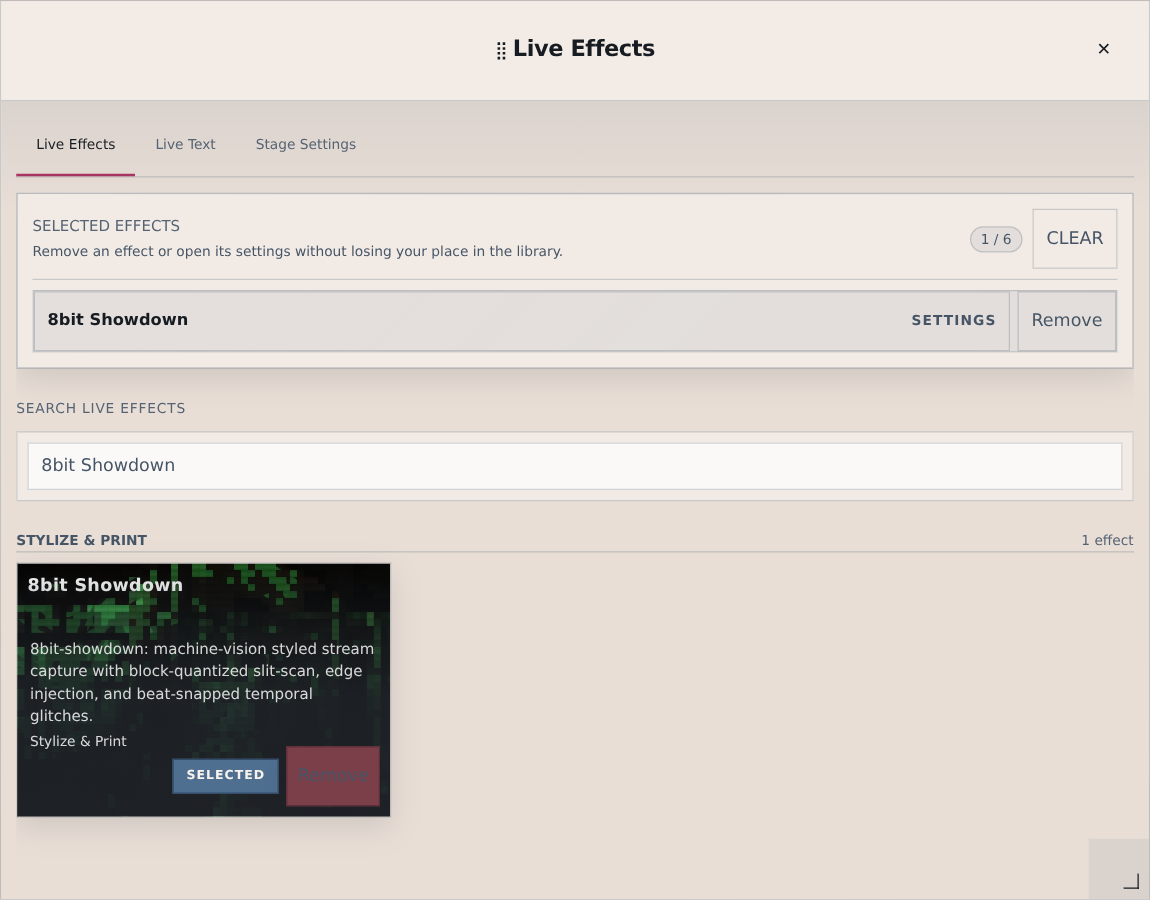
Open Live Effects from the stage, then choose an effect from the library. Tapping an effect adds it to Selected effects without removing the base visual. The result is a stack: the audio visual remains underneath, and the new effect becomes a layer whose input and blend can be changed.
For a first test, choose an effect that makes the live picture easy to recognize. Once the routing is working, you can try more stylized, temporal, motion, color, or camera effects and build a stack that suits the performance.
At this point you should see:
- the original audio-reactive visual still running on stage
- the chosen effect listed under Selected effects
- a Settings control on the selected effect
Set Source to Raw live capture and choose a Blend
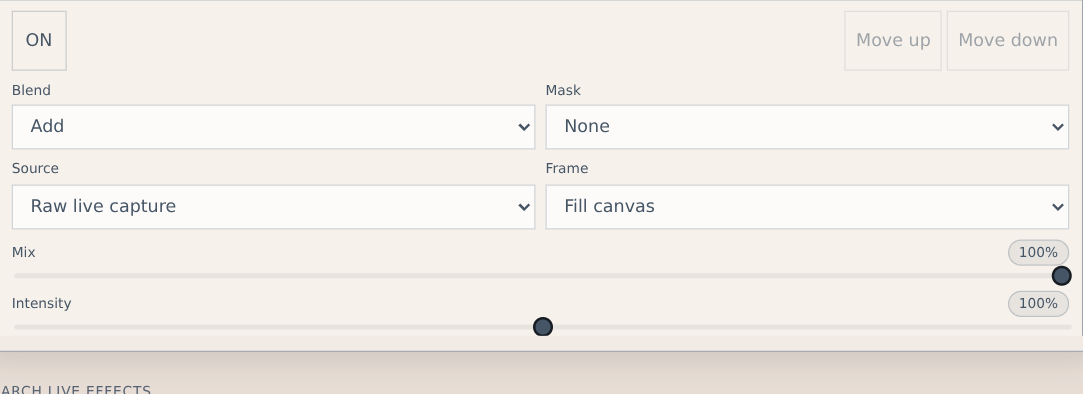
Open Settings on the selected effect. Change Source from Previous layer to Raw live capture so that this effect processes the connected camera, screen, video, or image instead of simply processing the base scene again.
Next, change Blend from Normal to Add, Multiply, or Difference. The walkthrough screenshot uses Add. This keeps the bright parts of both layers visible and often creates an energetic, luminous composite. Multiply produces a darker mix that lets the base visual texture the live picture. Difference compares the layers and creates the high-contrast, inverted-looking result that is sometimes described as a negative blend.
The routing change:
- Open Settings for the effect under Selected effects.
- Set Source to Raw live capture.
- Set Blend to Add, Multiply, or Difference instead of Normal.
- Adjust Mix and Intensity until the live picture and base visual feel balanced.
What each blend mode contributes
Blend mode changes how the processed live layer combines with the audio visual below it. There is no single best choice; the right mode depends on the brightness and contrast of both sources.
Three useful starting points:
- Add: combines light from both layers for bright, energetic overlays and glowing details.
- Multiply: combines darker values for a moodier composite with more of the base texture showing through.
- Difference: compares the two layers for sharp color shifts and an inverted or negative-looking finish.
Refine the mix without losing either layer
Once the live feed is visible, use Mix to control how much of the effect enters the final composite and Intensity to control how strongly the effect is rendered. If the live layer takes over, lower Mix first. If the treatment feels too quiet, increase Intensity gradually instead of immediately adding another effect.
You can also switch Frame between Fill canvas and Aspect fit, or use a Mask to limit where the layer appears. These controls make it possible to preserve a recognizable performer or live source while the base visual keeps providing motion, color, and audio response around it.
One stage, two visual languages
This workflow is useful when you want the human or live-media presence of capture without giving up an abstract audio visual. A DJ can sit inside a reactive field, a screen share can pick up beat-driven color, or a prepared video can move through a visual that continues responding to the soundtrack.
The base visual, effect choice, source routing, and blend mode each solve a different part of the composition. Start with one effect and one clear blend, then add complexity only after both sources read well together.
Keep exploring
Common questions
Blend the stage with what is happening live
Choose an audio-reactive base, connect a live picture, and combine them through Live Effects with the blend that fits your set.